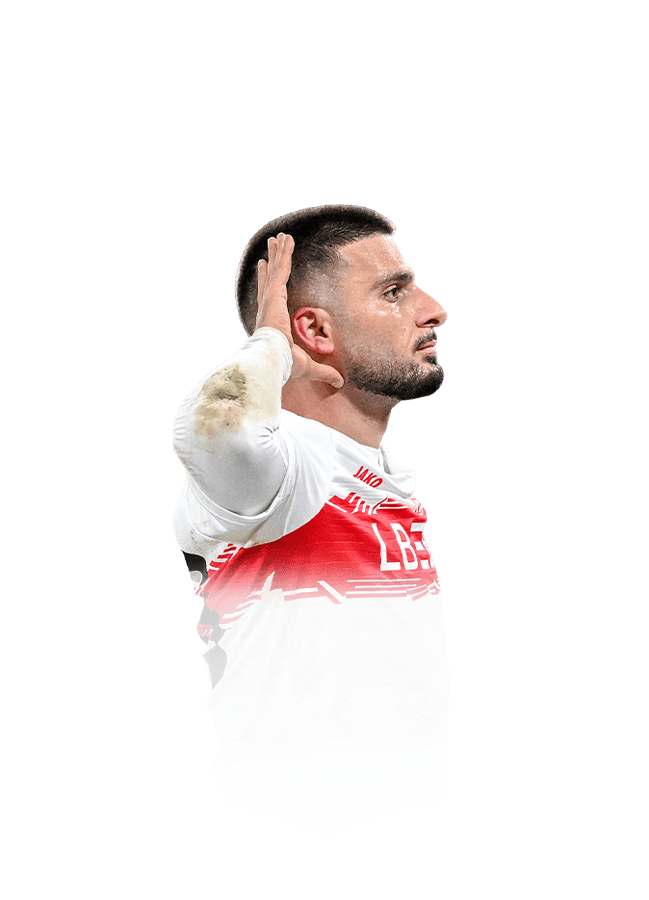
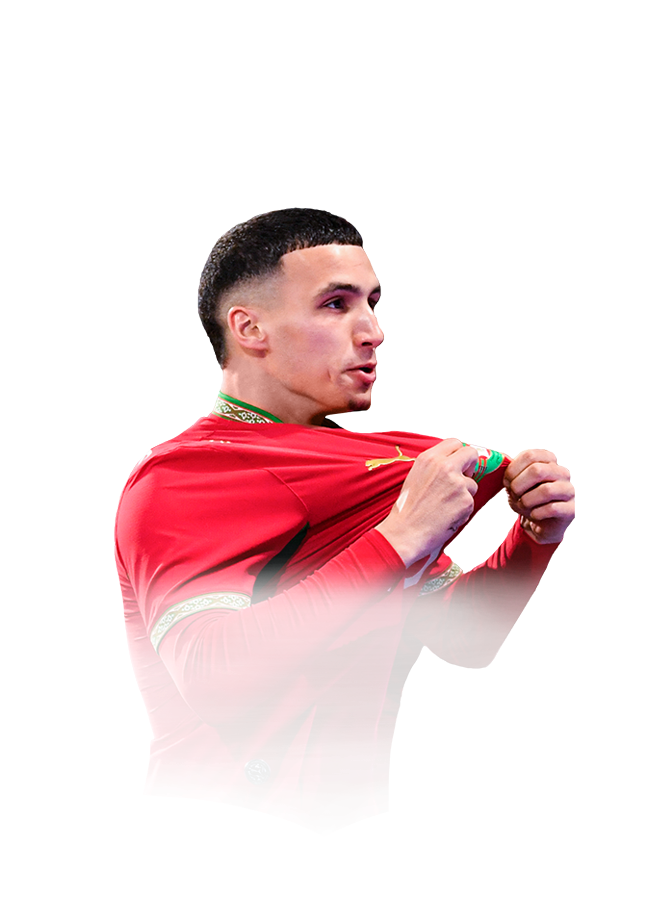
Jamie Leweling 95 OVR - FC 26 National Pride Red


Profile Tactical Analysis Field Impact How to Beat Synergy
Right Foot ★★★★ WF ★★★★ Skills Controlled 185 cm 86 kg 25 yrs
Jamie Leweling
95
RM
RW ST R
R 4★4
87 CARD 84 CARD 74 CARD 95 NATIONAL PRIDE RED
98 Pace [simulator]
Acceleration
97
Sprint Speed
98
95 Shooting
Finishing
95
Positioning
99
Long Shots
94
Shot Power
99
Penalties
87
FK Accuracy
76
Volleys
92
94 Passing
Vision
91
Short Pass
98
Long Pass
93
Curve
86
Crossing
99
FK Accuracy
76
96 Dribbling
Ball Control
95
Dribbling
97
Composure [simulator]
92
Balance
97
Agility
96
Reactions
92
70 Defending
Def. Awareness
75
Interceptions
65
Stand Tackle
70
Slide Tackle
52
Heading
87
93 Physical
Strength [simulator]
96
Jumping
95
Aggression
85
Stamina [simulator]
94

Player Info

Full NameLeweling, Jamie
Overall 95
Position RM RW ST R
Preferred FootRight
Weak Foot★★★★
Skill Moves★★★★
AcceleRATEControlled
Height185 cm
Weight86 kg
Age25
Body TypeAverage Tall
Real FaceNo
Shirt No.18
Nation Germany
League Bundesliga
Club VfB Stuttgart
Card ID84138528
Base ID252448

PlayStyles

Scoring
Finesse Shot
Finesse Shot
Chip Shot
Chip Shot
Power Shot
Power Shot
Dead Ball
Dead Ball
Acrobatic
Acrobatic
Low Driven Shot
Low Driven Shot
Game Changer
Game Changer
Precision Header
Precision Header
Passing
Incisive Pass
Incisive Pass
Pinged Pass
Pinged Pass
Tiki Taka
Tiki Taka
Inventive
Inventive
Long Ball Pass
Long Ball Pass
Whipped Pass
Whipped Pass
Ball Control
First Touch
First Touch
Press Proven
Press Proven
Rapid
Rapid
Technical
Technical
Trickster
Trickster
Defending
Aerial Fortress
Aerial Fortress
Anticipate
Anticipate
Block
Block
Intercept
Intercept
Jockey
Jockey
Slide Tackle
Slide Tackle
Physical
Bruiser
Bruiser
Enforcer
Enforcer
Long Throw
Long Throw
Quick Step
Quick Step
Relentless
Relentless
GK
Cross Claimer
Cross Claimer
Deflector
Deflector
Far Reach
Far Reach
Far Throw
Far Throw
Footwork
Footwork
Rush Out
Rush Out

Roles

No role data available for this card.
Role Fit & Shape Mapper

Tactical Analysis Studio

Role resolution, tactical slider modeling, and dual-phase shape preview built from this card profile.

Ready for tactical calibration
Auto Best Role -
Scenario -
Projected Impact -
Role Suitability Matrix 0-100 weighted fit
90-Min Influence Curve Modeled output
Dual Tactical Shape In possession vs out of possession
In possession
Out of possession
Model Verdict Calibrating...
    Dynamic Match Projection

    Field Impact Lab

    Scenario engine built from this card's position profile, role map, attributes, and PlayStyles.

    Preview mode
    Phase breakdown Balanced impact
    Event timeline Scenario preview
      Counter Matchups

      How to Beat Jamie Leweling

      Model-driven shortlist

      Best counters focus on lane-denial pressure, repeat duel volume, and quick regain-to-attack transitions.


      Top 6 players most likely to win this matchup

      Granit Xhaka
      97
      CDM
      Pinged Pass
      Anticipate
      Bruiser
      Finesse Shot
      CM L
      L 5★5

      High regain and press endurance

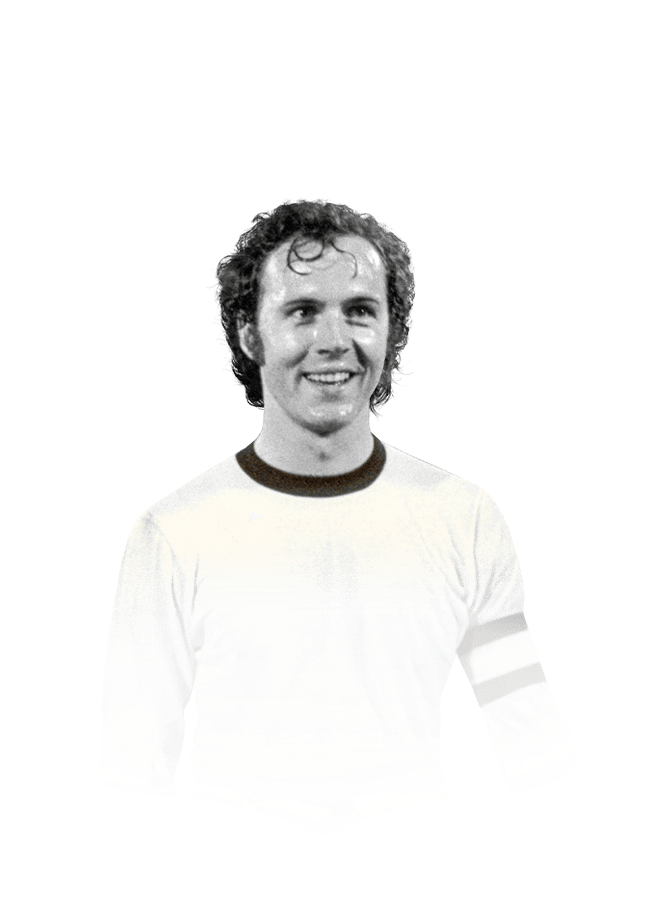
      Franz Beckenbauer
      97
      CB
      Pinged Pass
      Anticipate
      Intercept
      Incisive Pass
      CDM CM R
      R 4★5

      High regain and press endurance

      João Neves
      97
      CDM
      Pinged Pass
      Intercept
      Bruiser
      Incisive Pass
      CM R
      R 5★5

      High regain and press endurance

      Pau Cubarsí
      97
      CB
      Pinged Pass
      Tiki Taka
      Anticipate
      Slide Tackle
      R
      R 4★5

      High regain and press endurance

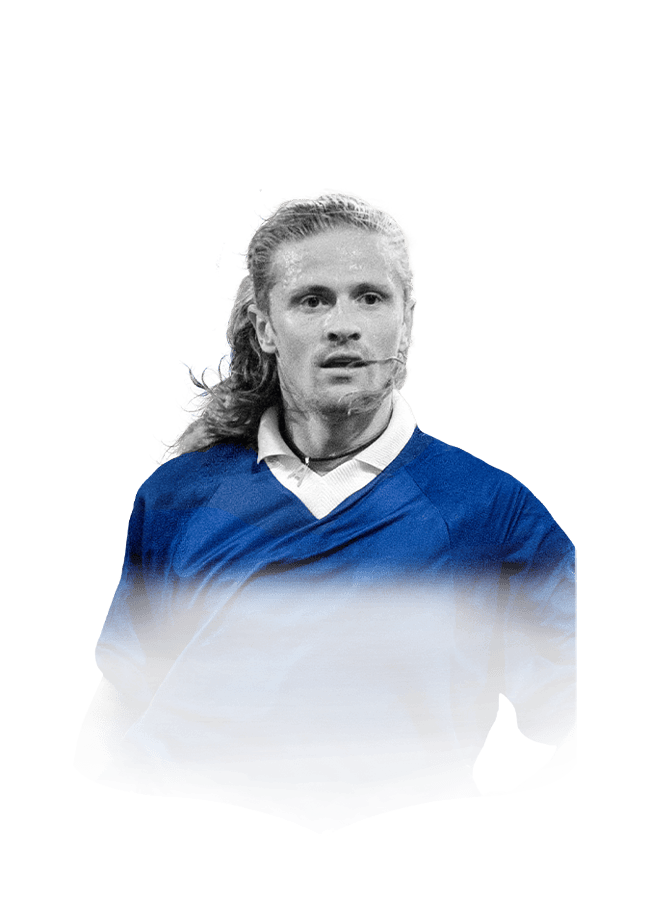
      Emmanuel Petit
      96
      CDM
      Incisive Pass
      Press Proven
      Anticipate
      Intercept
      LB CM L
      L 5★5

      High regain and press endurance

      Daniele De Rossi
      95
      CDM
      Pinged Pass
      Technical
      Intercept
      Precision Header
      CM R
      R 4★5

      High regain and press endurance


      Tactical plan to neutralize this profile

      phase-by-phase approach
      Press from blind side

      Approach receiving shoulder to force backward touches and compress passing windows immediately.

      Block central return lane

      After forcing wide, deny the return pass to pivot and hunt the next touch with two-player traps.

      Fast regain-to-final-third

      Attack within 6 seconds of recovery before midfield rest shape resets.

      Trigger-man marking on first build pass

      Assign a marker to remove their easiest progression outlet and increase turnover probability.


      Chemistry & Fit

      Synergy Around Jamie Leweling

      Model-driven fit

      Best synergy comes from runners ahead, secure balance behind, and teammates who can attack the spaces created by his receiving angles.


      Top 6 players with the best chemistry and role fit

      Deniz Undav
      95
      ST
      Game Changer
      Technical
      Finesse Shot
      Chip Shot
      CAM
      R 5★5

      Strong club chemistry link + League chemistry support
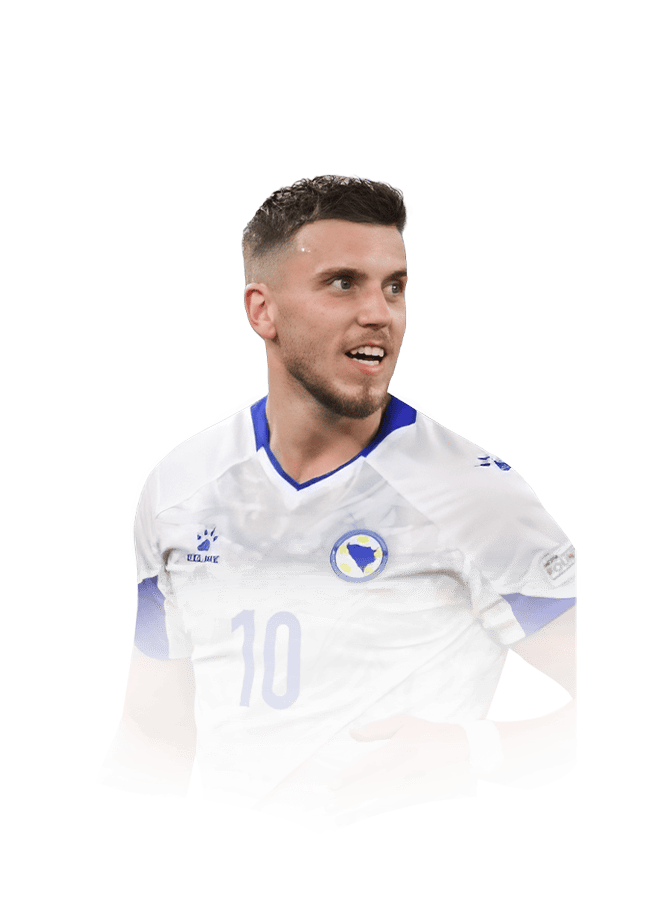
      Ermedin Demirović
      92
      ST
      Finesse Shot
      Rapid
      Chip Shot
      Power Shot
      R
      R 4★5

      Strong club chemistry link + League chemistry support
      Bilal El Khannouss
      92
      LW
      CM LM CAM
      R 4★4

      Strong club chemistry link + League chemistry support

      Stiller
      94
      CDM
      Pinged Pass
      Tiki Taka
      Intercept
      Incisive Pass
      CM
      L 4★5

      Strong club chemistry link + League chemistry support

      Harry Kane
      98
      ST
      Finesse Shot
      Low Driven Shot
      Incisive Pass
      First Touch
      R
      R 4★5

      League chemistry support + Vertical runner for final-third combinations
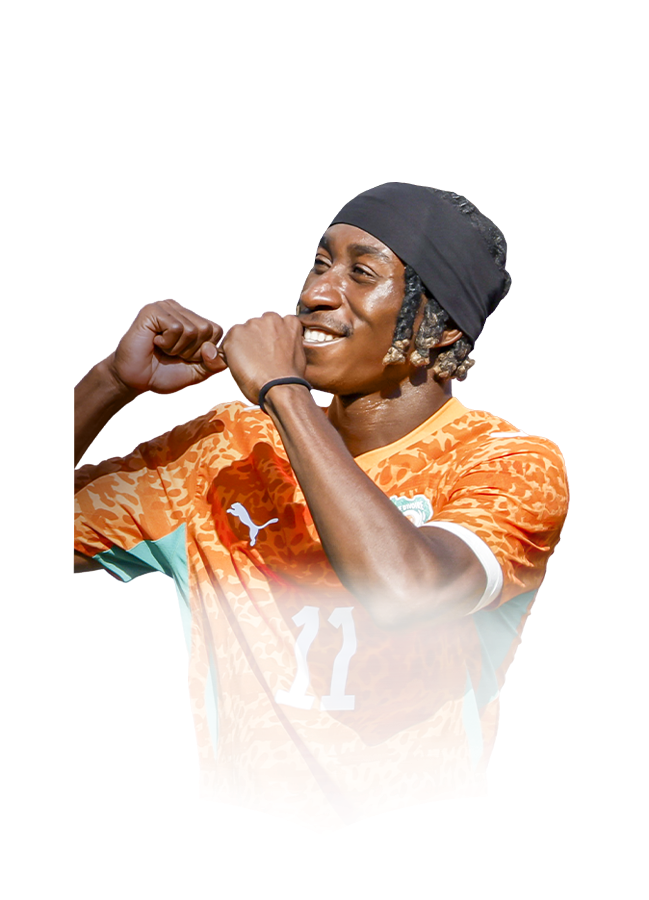
      Yan Diomande
      96
      LW
      Low Driven Shot
      First Touch
      Rapid
      Technical
      RM LM RW
      R 4★4

      League chemistry support + Vertical runner for final-third combinations


      Tactical environments that suit this card

      fit-by-fit approach
      Third-man combinations

      Surround him with one runner beyond and one bounce-pass option underneath to maximize his body orientation on receive.

      Counterpress behind the ball

      Keep a CDM or strong CM under him so turnovers become immediate regains instead of open transitions.

      Half-space occupation

      Use wide players who pin the line while he operates between lines and connects central overloads.

      Fast post-recovery attack

      The best environment is one where his next action after a regain immediately releases a runner or switches play.


      Comments

      No comments yet. Be the first to share your thoughts!


      You must be logged in to post a comment.

      Login Register