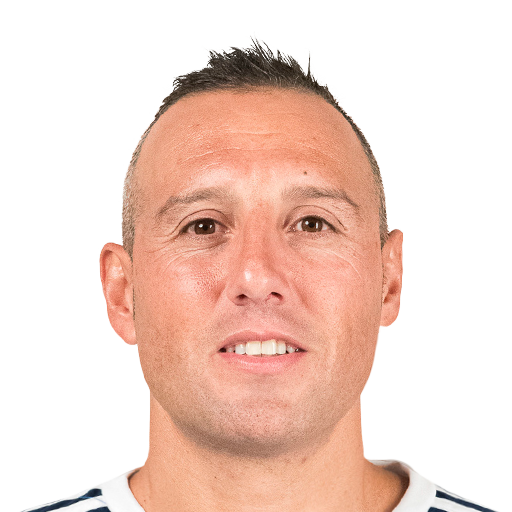
Aleix Febas 72 OVR - FC 26

Profile Tactical Analysis Field Impact How to Beat Synergy
Right Foot ★★★ WF ★★★ Skills Controlled 172 cm 64 kg 30 yrs
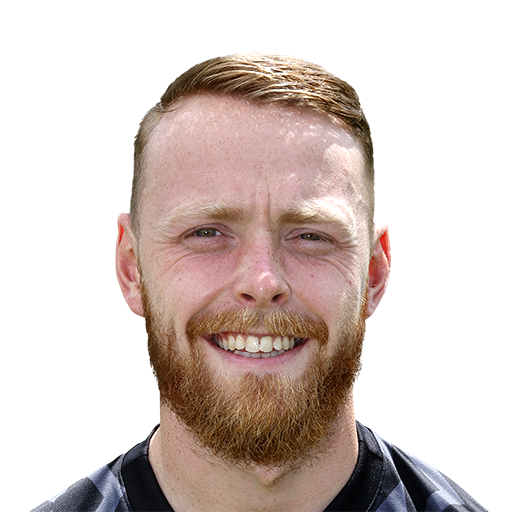
Aleix Febas
72
Inventive
CB CDM R
R 3★3
74 Pace [simulator]
Acceleration
73
Sprint Speed
75
61 Shooting
Finishing
57
Positioning
68
Long Shots
66
Shot Power
66
Penalties
59
FK Accuracy
64
Volleys
58
72 Passing
Vision
76
Short Pass
74
Long Pass
71
Curve
68
Crossing
66
FK Accuracy
64
74 Dribbling
Ball Control
73
Dribbling
70
Composure [simulator]
74
Balance
81
Agility
90
Reactions
70
64 Defending
Def. Awareness
66
Interceptions
70
Stand Tackle
68
Slide Tackle
64
Heading
36
70 Physical
Strength [simulator]
65
Jumping
59
Aggression
70
Stamina [simulator]
83

Player Info

Full NameFebas Pérez, Aleix
Overall 72
Preferred FootRight
Weak Foot★★★
Skill Moves★★★
AcceleRATEControlled
Height172 cm
Weight64 kg
Age30
Body TypeLean Medium
Real FaceNo
Shirt No.14
Nation Spain
League LALIGA EA SPORTS
Club RC Celta
Card ID84121602
Base ID235522

PlayStyles

Scoring
Finesse Shot
Finesse Shot
Chip Shot
Chip Shot
Power Shot
Power Shot
Dead Ball
Dead Ball
Acrobatic
Acrobatic
Low Driven Shot
Low Driven Shot
Game Changer
Game Changer
Precision Header
Precision Header
Passing
Incisive Pass
Incisive Pass
Pinged Pass
Pinged Pass
Tiki Taka
Tiki Taka
Inventive
Inventive
Long Ball Pass
Long Ball Pass
Whipped Pass
Whipped Pass
Ball Control
First Touch
First Touch
Press Proven
Press Proven
Rapid
Rapid
Technical
Technical
Trickster
Trickster
Defending
Aerial Fortress
Aerial Fortress
Anticipate
Anticipate
Block
Block
Intercept
Intercept
Jockey
Jockey
Slide Tackle
Slide Tackle
Physical
Bruiser
Bruiser
Enforcer
Enforcer
Long Throw
Long Throw
Quick Step
Quick Step
Relentless
Relentless
GK
Cross Claimer
Cross Claimer
Deflector
Deflector
Far Reach
Far Reach
Far Throw
Far Throw
Footwork
Footwork
Rush Out
Rush Out

Roles

No role data available for this card.
Role Fit & Shape Mapper

Tactical Analysis Studio

Role resolution, tactical slider modeling, and dual-phase shape preview built from this card profile.

Ready for tactical calibration
Auto Best Role -
Scenario -
Projected Impact -
Role Suitability Matrix 0-100 weighted fit
90-Min Influence Curve Modeled output
Dual Tactical Shape In possession vs out of possession
In possession
Out of possession
Model Verdict Calibrating...
    Dynamic Match Projection

    Field Impact Lab

    Scenario engine built from this card's position profile, role map, attributes, and PlayStyles.

    Preview mode
    Phase breakdown Balanced impact
    Event timeline Scenario preview
      Counter Matchups

      How to Beat Aleix Febas

      Model-driven shortlist

      Best counters use compact rest-defense, aggressive first contact, and denial of high-value shot zones.


      Top 6 players most likely to win this matchup

      Laia Aleixandri
      73
      CM
      Finesse Shot
      Tiki Taka
      Press Proven
      Aerial Fortress
      RB CB LB
      R 2★4

      Defensive PlayStyles for isolation duels


      Casillas
      74
      GK
      Footwork
      Long Ball Pass
      Far Reach
      Rush Out
      L 1★3

      Close-range reaction tools

      Oliver Kahn
      73
      GK
      Rush Out
      Far Reach
      R 1★2

      Balanced all-phase matchup profile

      Sergio Romero
      74
      GK
      Cross Claimer
      Deflector
      Far Throw
      R 1★3

      Close-range reaction tools

      Robin Roefs
      74
      GK
      Far Reach
      Footwork
      L 1★3

      Close-range reaction tools

      Viktor Johansson
      74
      GK
      Long Ball Pass
      Cross Claimer
      Deflector
      R 1★3

      Close-range reaction tools


      Tactical plan to neutralize this profile

      phase-by-phase approach
      Deny half-turn receptions

      Maintain back-pressure and front-screen support so first touch is forced away from goal.

      Compact box rest-defense

      Keep central distances short and invite low-value wide shots instead of central combinations.

      Early body contact before strike

      Time shoulder contact on setup touch to reduce shot quality without overcommitting.

      Trap weak-foot release side

      Show onto weaker release lane and close supporting angles to cut final action quality.


      Chemistry & Fit

      Synergy Around Aleix Febas

      Model-driven fit

      Best synergy comes from creators behind him, overlapping support outside him, and structures that feed him touches near goal.


      Top 6 players with the best chemistry and role fit

      Santi Cazorla
      75
      CAM
      Incisive Pass
      Tiki Taka
      Inventive
      Long Ball Pass
      CM LM
      R 4★5

      League chemistry support + National-team style familiarity

      Bryan Zaragoza
      76
      LM
      Technical
      RM LW
      R 4★4

      Strong club chemistry link + League chemistry support
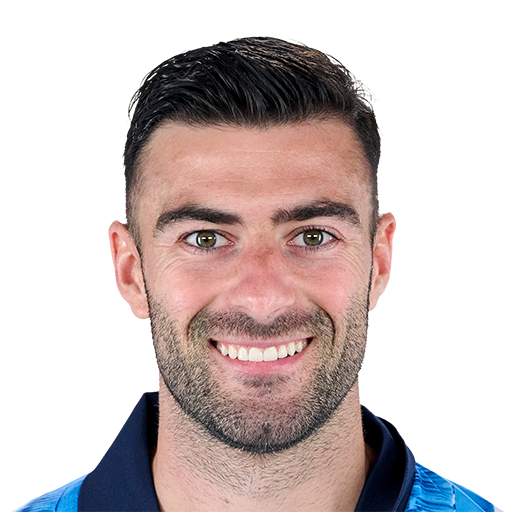
      Diego Rico
      75
      LB
      Whipped Pass
      Intercept
      Long Throw
      LM
      L 2★2

      League chemistry support + National-team style familiarity

      Ferran Jutglà
      75
      ST
      Finesse Shot
      Low Driven Shot
      Game Changer
      R 3★4

      Strong club chemistry link + League chemistry support

      Pedro Díaz
      75
      CM
      Power Shot
      Dead Ball
      Incisive Pass
      Long Ball Pass
      CDM
      R 3★4

      League chemistry support + National-team style familiarity

      Unai López
      76
      CM
      Press Proven
      CDM
      R 3★3

      League chemistry support + National-team style familiarity


      Tactical environments that suit this card

      fit-by-fit approach
      Creator behind, runner outside

      Give him a passer underneath and one overlap or weak-side runner so he can attack different defensive references.

      Box occupancy timing

      He thrives when the far-post and cutback zones are both attacked, not when he is left alone against the full line.

      Early service patterns

      Quick switches, driven crosses, and incisive half-space entries increase the value of his movement.

      Counterpress for repeat attacks

      Hold the structure close around him so second balls and loose clearances come straight back into finishing territory.


      Comments

      No comments yet. Be the first to share your thoughts!


      You must be logged in to post a comment.

      Login Register